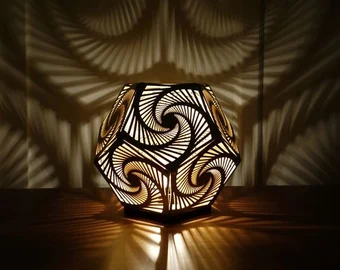
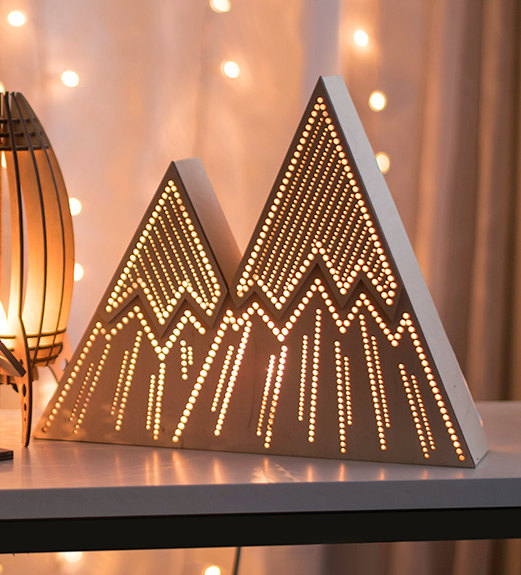
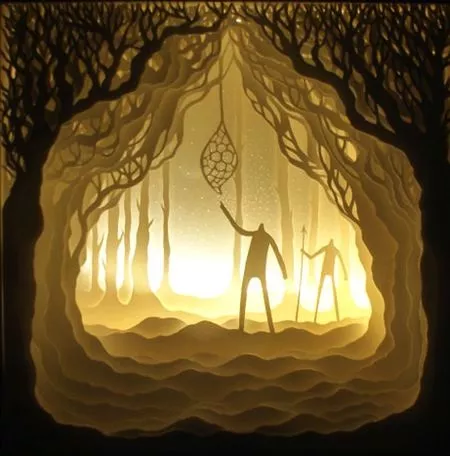
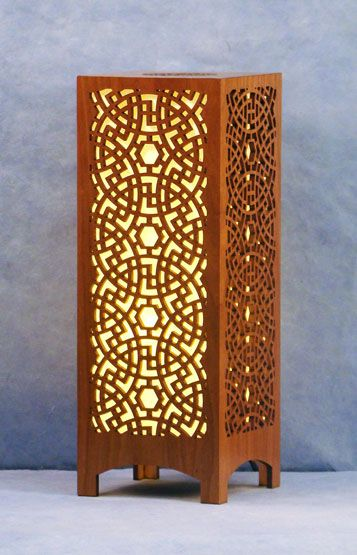
For this project, you will create an illuminated three dimensional object from two dimensional materials that you will laser cut. You will use at lest two materials. One material will be rigid, such as plywood or acrylic, which will give your object structure and strength. The second material will be pliable, like cloth or paper, which you will use to create curved features of your object. You should also explore materials with different transparencies to create interesting effects with the light. Small LED lights will be provided, but you may use a light source of your choosing.
When creating your 3D geometry in Rhino, you will use techniques learned in class and via the tutorials. You will create 3D volumes from 2D curves using extrude, loft, revolve, sweep, and/or more. Once you have your 3D form, you will “unroll” this shape into 2D shapes that can be cut out of flat materials. Be mindful of the fact that even pliable materials that can bend and roll can generally only do so along one axis; you can roll a piece of paper into a cylinder, but not a sphere. Once you have your object converted into 2D geometry define any folds with score lines you can etch into your material or cut with dashed lines. You can then incorporate patterns and designs into the facets of your object. Add tabs, slots, joints, and other elements to enable you to join these physical materials together. Do not just wrap your sculpture in tape or blob hot glue to hold it together. Proper execution and attention to craft must persist throughout the all phases of the project. Thoughtful execution on one phase will set the stage for success in the next. Testing your joinery design before cutting your entire piece will be important.
Prepare your files for the laser cutter, as demonstrated in class and in the dFab learning resources. Run test cuts to determine the appropriate setting for the laser cutter. Seek guidance from your instructor and the dFab staff as you are using these tools for the first time and when needed throughout the project.
Once you have your sculpture modeled, cut, and assembled, document the work with a quality photograph of the sculpture, free of distractions in the photo, and with proper lighting for your piece. Upload the photo and your Rhino file(s) to your portfolio page.
light dimensions: small 1.1″ diameter x .9″ height, large 2.7″ diameter x 1″ height