INTRODUCTION
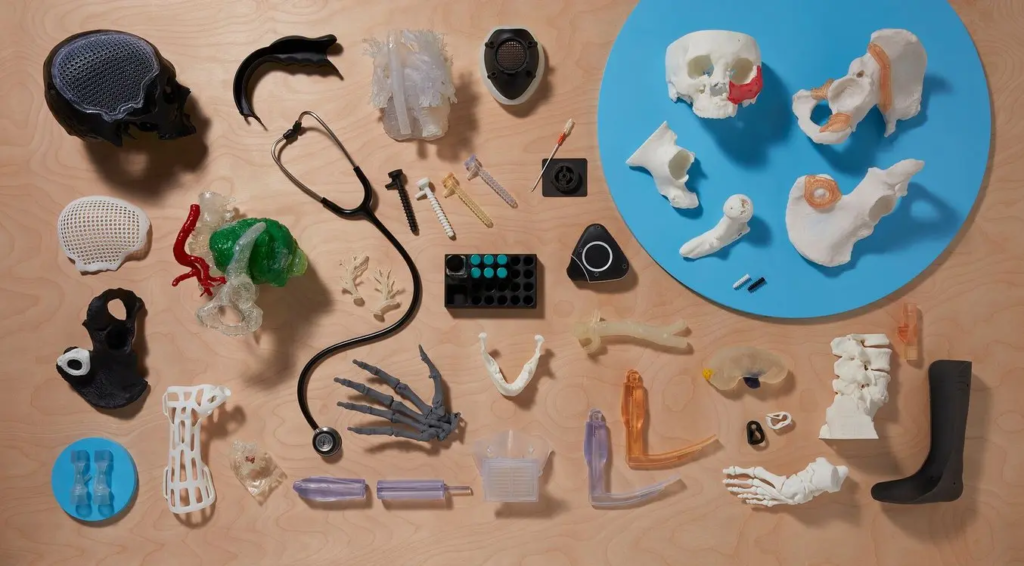
Medical 3D printing is becoming a big deal in healthcare, both in clinics and research. It’s all about creating physical models of body parts using 3D printing tech. The process starts with making a digital design, usually based on imaging like MRIs or CT scans, and then printing custom models specific to a patient. Since 3D printing is flexible, fast, and not too expensive, even small or one-off batches can be made. These models are super helpful—they let doctors plan surgeries better and make it easier to explain tricky medical stuff to patients. They’re also great for teaching and training in hospitals.
What are the Benefits of Medical 3D Printing?
3D printing allows medical professionals to explore and interact with complex anatomy in ways that were impossible before. Being able to hold a tangible, three-dimensional model enhances understanding of anatomical and pathological structures. These models are especially useful for testing the placement of implants, visualizing surgical procedures, and planning operations. New advancements, like multi-color and multi-material printing, make it possible to simulate surgical environments more realistically, aiding both pre-surgical planning and in-the-moment surgical decisions. They add a new layer of clarity and confidence that complements traditional on-screen imaging.
For medical device makers and research, 3D printing is an efficient tool for rapid prototyping and iterative design improvements. It helps validate digital trial results early on, giving researchers confidence before moving to expensive physical tests or in vivo studies. This ability to quickly create and refine prototypes speeds up development and improves the accuracy of new innovations.
- Accelerate Product Development
- Increase Speed to Manufacturing
- Deliver Patient-Matched Devices
- Optimize Inventory Costs
How Does it Work?
To create a 3D print tailored to a specific patient, the process starts by capturing detailed images of the patient’s anatomy. This is done using advanced scanning methods like MRI, X-ray CT, or 3D ultrasound, which generate a 3D image of the internal structures. From there, a process called segmentation comes into play, where specific areas of interest are identified and isolated to build a detailed 3D computer model. How this is done depends on the type of scan, the part of the body being modeled, and the quality of the images. While traditional methods can take a lot of time and skill, tools like Simpleware software help speed things up.
Once the 3D model is ready, it’s converted into surface meshes and prepped for printing. This includes adding connectors, coloring surfaces, or even splitting the model into parts for easy assembly and better visibility of certain areas. Finally, the prepared file (usually in STL format) is sent to the 3D printer. The printer’s software generates a path for the printer head, adds support structures, and layers the material to bring the digital model to life as a physical object.

Step 1 – Scan the patient’s anatomy
Step 2 – Segment the digital image
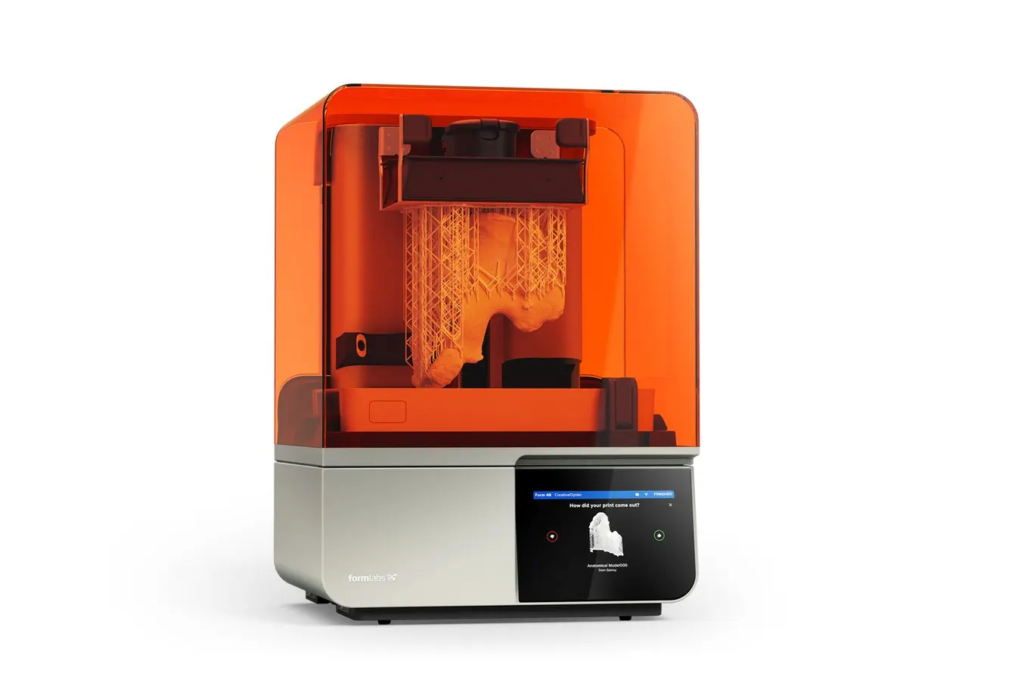
Step 3 – Print your model
Step 4 – Post-processing, simplified
Step 5 – Sterilize for use
Source: Link is embedded