1 · 1/18 · Introductions
in class
- overview
- people
- about the class
- course structure
- expectations
- class website
- people
- schedule
- resources
- accessing tutorials
- research
- portfolio pages
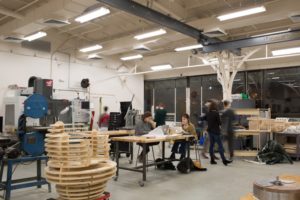
- dFab Studio tour
- intro to Rhino
- overview
- interface
- geometry types
- 2D basics
- portfolio page setup (time permitting)
homework
- Readings
- dFab Manual
- Website
- log in
- set a profile picture and bio on your portfolio page
- upload homework documentation as outlined below
- Tutorials (choose video tutorials or the Rhino manual, depending on your learning preferences)
- Video Tutorials on LinkedIn Learning (MICA login required)
- Introducing Rhino 7 (65 min – optional)
- Rhino 7 Essential Training
- Ch 1 – Interface (36 min)
- Ch 2 – Workflow Basics (29 min)
- Ch 3 – Drawing with 2D (30 min)
- Rhino Level 1 Training Manual – Alternative Tutorial with supporting files
- Ch 1 – Introduction (pg 1-2)
- Ch 2 – What is Rhino? (pg 3-8)
- Ch 3 – Rhino Interface (pg 9-37)
- Ch 4 – Modeling Helpers (pg 38-48)
- Ch 5 – Precision Modeling (pg 49-114)
- upload a single image file (Rhino->File->Print->Image File) and a single Rhino file to your portfolio page
- Video Tutorials on LinkedIn Learning (MICA login required)
2 · 1/25 · 2D Drawing with Rhino
in class

- Review Homework
- Exercises
- Word Tracing Exercise
- generate 5 random words and pick one that you like
- Use a font generator to create an image of this word (150 px tall)
- place the image file into your Rhino document using the “picture” command
- scale it so that the letters are 2″ tall and add a rectangular border this with a .5″ margin
- trace the image using the variety of Rhinos curve creation and editing tools
- repeat this process three times so that you have examples with text that is primarily:
- linear
- geometric
- organic/script
- save your file and and image of your drawings
- post your file and your image on you portfolio page
- Word Tracing Exercise
homework
- Readings
- Tutorials
- Rhino 7 Essential Training
- Chapter 4 – through 4.5 (sweeping rails)
- Rhino Level 1 Training Manual – Written Tutorial with supporting files
- Ch 6 – Editing Geometry
- Ch 7 – Point Editing
- Rhino 7 Essential Training
- Projects
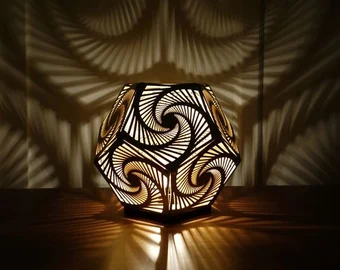
- begin thinking and sketching for Project I: Luminous Object
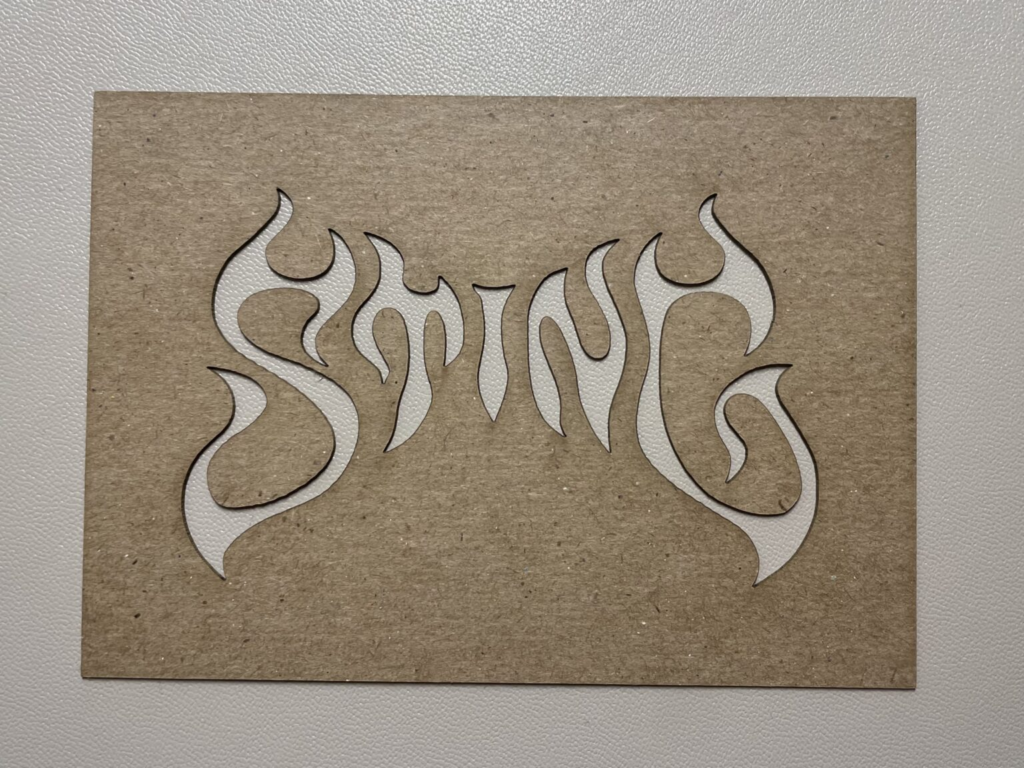
3 · 2/1 · Introduction to Laser Cutting
in class
- Homework review
- Laser Cutting
- proper file prep
- machine safety and operations
- creating basic 3D geometry
- unrolling 3D geometry to 2D
- Introduce Project I: Luminous Object
homework
- Exercises
- complete laser word exercise and add to your portfolio page
- Begin work on Project I: Luminous Object
4 · 2/8 · Project I Work Day
in class
- Work on Project I
- ad hoc demos
homework
- Complete Project I
5 · 2/15 · Critique / Rhino 3D Intermediate
in class
- Critique of Project I
- Object copy demo
- Introduce Project II
homework
- Document work
- update portfolio page
- add Project I documentation
- make sure all other work to date is present and complete
- select a small object for our next exercise and project
- acquire calipers and ruler if you have not done so already
- read 3D printing tutorial
6 · 2/22 · 3D Printing
in class
- Student Presentations
- 3D printing Demo
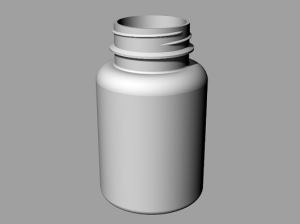
- Object Copy exercise
- modeling strategies
- measuring
- accurate modeling
- intermediate 2D to 3D
homework
- complete object copy
- print object copy
- Exercises
7 · 2/29 · Project II Work Day
in class
- Student Presentations
- mini-crit of object copies
- ad hoc Rhino demos
- advanced 3D Printing
- Project II – Physical-Digital Interplay
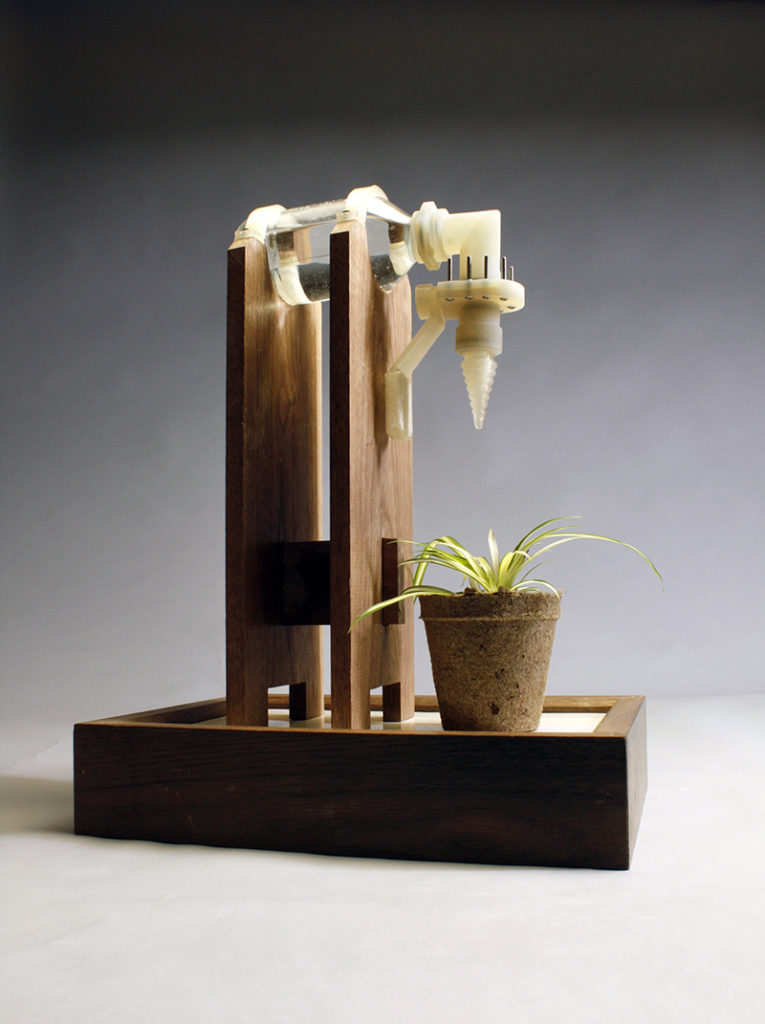
For this project we will move and combine objects between physical and digital spaces. This project will begin with a physical object that you will faithfully recreate in Rhino. (Your object copy is intended to be the starting point here, but you may use another object if you choose.) You will then digitally manipulate that object somehow and 3D print it. You will then physically alter the 3D printed object. This may include surface treatments or other processes. Your sculpture must also include another physical object that is not digitally fabricated. This may be a found object or something you have made. This physical object must be incorporated into your sculpture with a precisely modeled and digitally fabricated connection. This connection can be printed or laser cut. It may be part of your copied and manipulated object or another element of the sculpture. You may include other components in your piece, but it must have these three elements: 1) copied, digitally altered, printed, physically altered object 2) a found or made physical object 3) digitally fabricated connection point for the physical object
homework
- Complete Project II
8 · 3/7 · Critique
in class

- Critique of Project II
homework
- Document Project II and upload to you portfolio page
- Update your portfolio page – required for midterm grades
- Readings
- dFab CNC Manual (Sections 1-8 , i.e. pages 1-33)
- Tutorials
9 · 3/14 · Spring Break
10 · 3/21 · Critique
in class

- Critique
homework
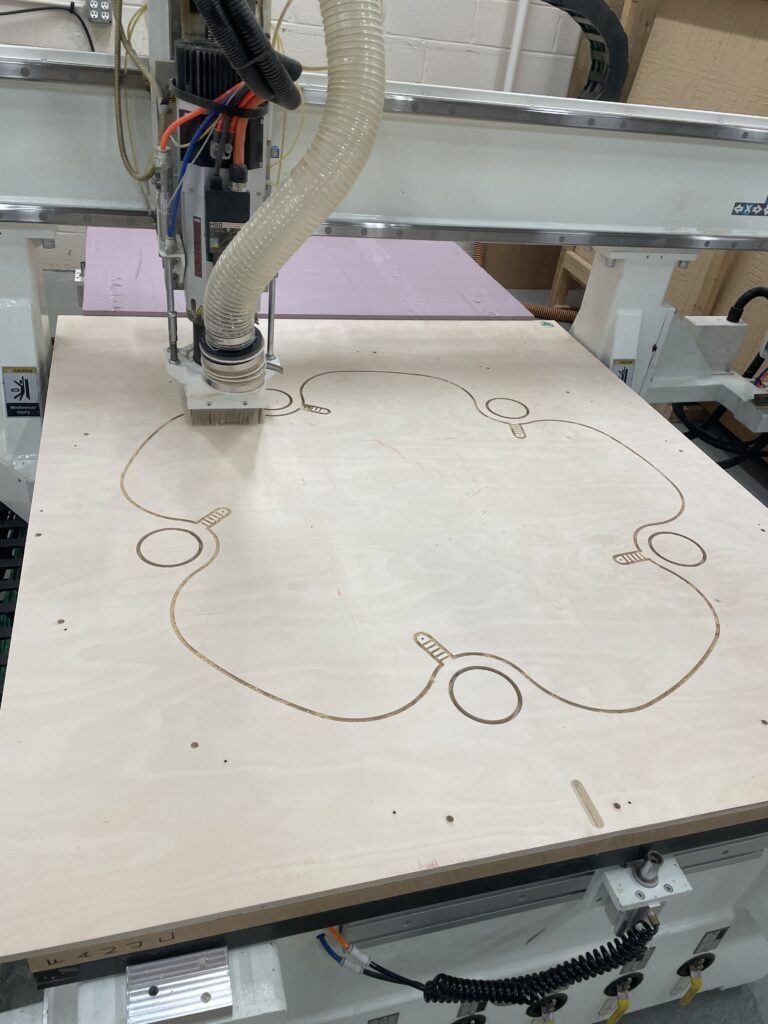
11 · 3/28 · Intro to CNC
in class

- Student Presentations
- Overview of the FANUC CNC router
- CAD Layouts for CNC
- Intro to setting toolpaths in RhinoCAM
- Sample milling
Work on toolpaths in RhinoCAM for 2.5D ExerciseMill parts for 2.5D Exercise
homework
- Catch up on Portfolio documentation, if needed
- Review the RhinoCAM tutorials from last week
- Preview 3D milling in RhinoCAM
- Begin modeling for 3D milling Exercise
- Design a form to be milled into a foam block that is 11.75″ x 11.75″ x 2″, with a 1/4″ margin on the sides and bottom.
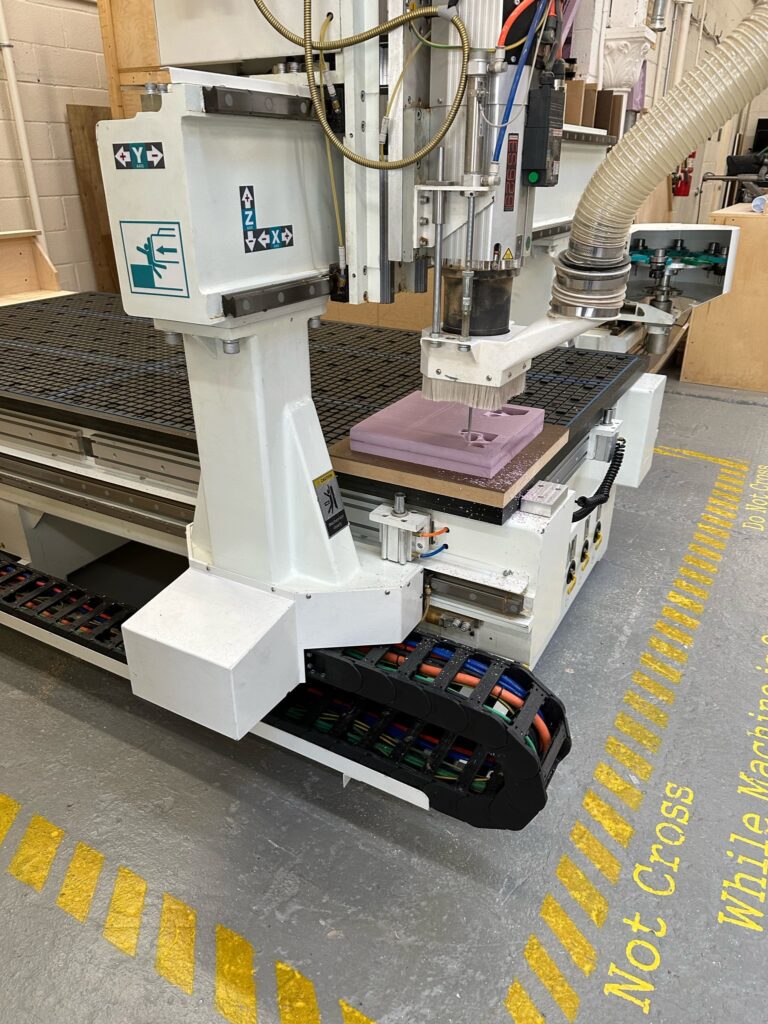
12 · 4/4 · 2.5D CNC Milling
in class
- Set 2.5 toolpaths in RhinoCAM
- Mill your part
- Work on 3D Milling Exercise
- 3D Milling CAM demo
- Introduce Project III
homework
- sign up for 3D milling
- complete 3D milling exercise
- create sketches for Project III proposals
13 · 4/11 · CNC / Project III Work Day
in class
- Student Presentations
- Review 3D Milling Exercise
- Review Project III proposals
- Project III brainstorming
- Project III work time
- Set group meeting schedules
- work on project III
- determine materials
- test milling
homework
- Project III design work
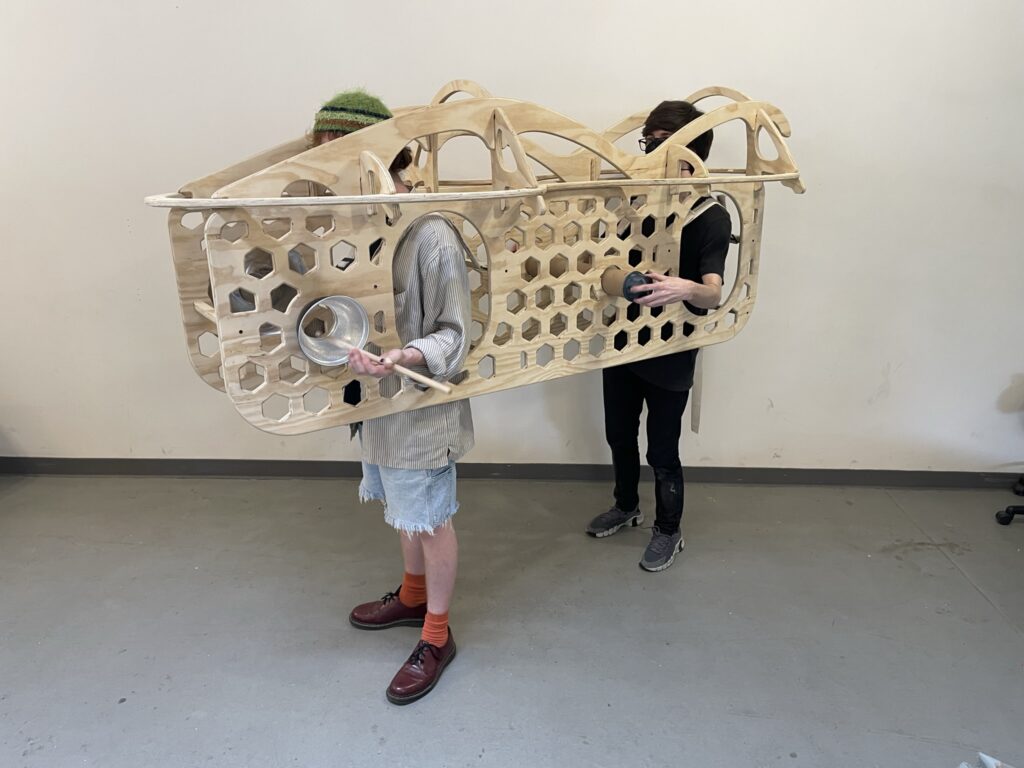
14 · 4/18 · Project III Work Day

in class
- Project III work day
- complete design work
- CAM design
- order materials
- begin milling
- continuous documentation
homework
- mill
- assembly
- finishing
- continuous documentation
15 · 4/25 · Project III Work Day
in class
- individual project reviews
- resolve project display, last details
- continuous documentation
homework
- Readings
- Tutorials
- Exercises
16 · 5/2 · Final Critique
in class
- garden path final project
- demold castings
- print path layout pattern on the plotter
- place stones
- place domes
- critique and reflection
- course evaluations
- portfolio page updates
- cabinet assembly
homework
- complete portfolio page and all assignments by Thursday night